It happens every single year between late July and August: you look at your garden and realize your tomato plants have completely taken over. You have made Caprese salads, you have roasted them for pasta, and you have made homemade salsa. But the tomatoes just keep coming!
Before they go bad on your kitchen counter, it is time to preserve that taste of summer sunshine for the dark, cold days of winter.
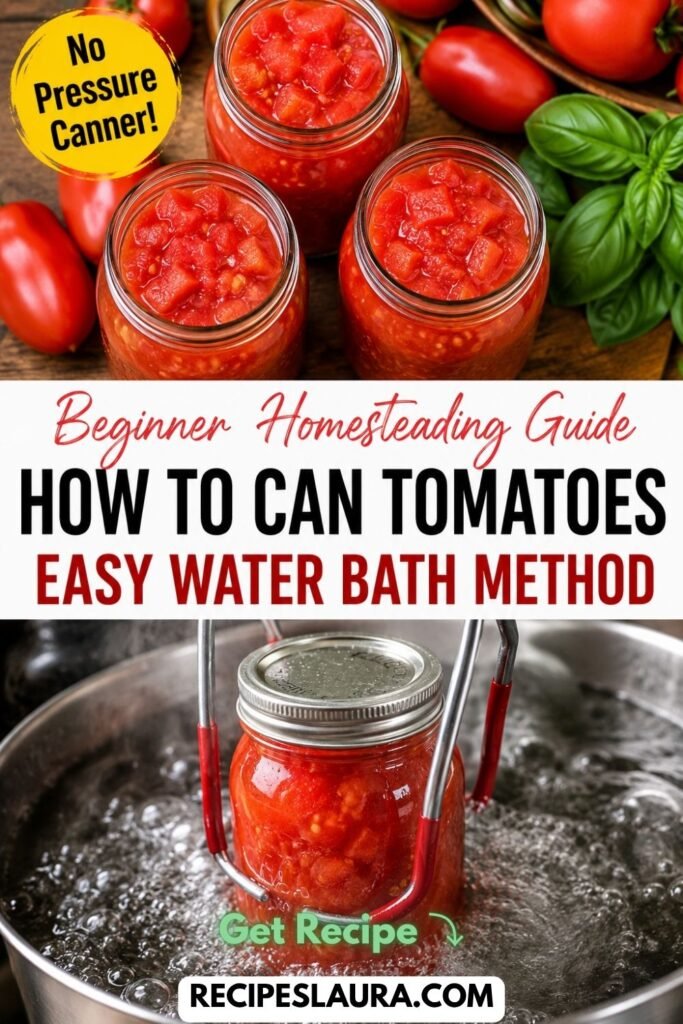
If you are intimidated by food preservation and endlessly searching for the easiest canning tomatoes recipes, take a deep breath. You do NOT need a terrifying, hissing pressure canner to preserve tomatoes! Because tomatoes are naturally on the border of being a high-acid food, you can safely preserve them using the simple, beginner-friendly Boiling Water Bath Method.
Today, I am walking you through the exact step-by-step process of canning diced tomatoes, including the famous “Blanch & Shock” peeling trick, and the absolute most critical safety secret you MUST know to keep your family safe from botulism!
👉 Want to use some fresh tomatoes for dinner tonight instead? Try my 15-minute [Authentic Spanish Gazpacho]!
🌟 Why You Will Love This Recipe
- Beginner-Friendly: No expensive pressure canner required! A large stockpot works perfectly.
- Tastes Infinitely Better: Store-bought tin cans often taste metallic. Home-canned tomatoes packed in their own juices taste incredibly fresh and sweet.
- The “Blanch & Shock” Hack: You will learn how to peel a massive mountain of tomatoes in seconds without ever using a vegetable peeler.
- Winter Ready: Imagine making chili or spaghetti bolognese in January using your own garden-fresh tomatoes!
🛒 Ingredients & The “Lemon Juice Safety Rule”
When canning tomatoes in a water bath, the acidity (pH level) is a matter of food safety, not just flavor!
- 15 to 20 lbs Fresh Tomatoes: (Roma, San Marzano, or Amish Paste tomatoes are the absolute best choice! They have thick, meaty flesh and fewer watery seeds than round slicing tomatoes).
- Bottled Lemon Juice: (CRUCIAL SAFETY WARNING: You MUST use commercial bottled lemon juice! Fresh squeezed lemons vary wildly in their acidity levels. Bottled lemon juice has a standardized pH, which guarantees your tomatoes are acidic enough to prevent botulism in a water bath!).
- Canning & Pickling Salt: (Optional for flavor, but recommended! Do not use iodized table salt, as it turns the water cloudy).
- Boiling Water: (To top off the jars if the tomatoes do not create enough of their own juice).
Equipment Needed:
- 6 Quart-sized or 12 Pint-sized Glass Mason Jars with new lids and metal bands.
- A Water Bath Canner (or a large, deep stockpot with a silicone mat or rack at the bottom).
- Canning Tongs (Jar lifter) and a bubble remover tool.
🍳 Step-by-Step Masterclass Instructions
Step 1: Sterilize the Jars
Wash your mason jars, lids, and bands in hot soapy water. Place the glass jars in your canning pot, cover with water, and bring to a simmer. Keep them hot until you are ready to fill them! (Hot food into a cold jar will shatter the glass!).
Step 2: The “Blanch and Shock” Peeling Hack 🧊
Bring a large pot of water to a rolling boil. Fill a large mixing bowl with cold water and ice cubes.
Take a sharp knife and score a shallow “X” on the bottom of each tomato. Gently drop the tomatoes into the boiling water for 60 seconds (until you see the skin start to curl and peel back at the X).
Immediately remove them with a slotted spoon and drop them into the ice bath for 1 minute. The skins will literally slip right off the tomatoes in your hands!
Step 3: Core and Dice
Once peeled, cut out the hard core at the top of the tomato. Dice the tomatoes into large chunks (or leave them in halves if you prefer!).
Step 4: The Crucial Safety Acidification 🛑
Carefully remove your hot jars from the canner.
Before adding any tomatoes, you MUST add your acid directly into the hot, empty jars:
- For Pint Jars: Add 1 Tablespoon of bottled lemon juice.
- For Quart Jars: Add 2 Tablespoons of bottled lemon juice.
(Add ½ tsp of canning salt per pint, or 1 tsp per quart for flavor!)
Step 5: Pack the Jars
Ladle the diced tomatoes and all their released juices tightly into the jars. Press them down gently with a wooden spoon to fill the empty spaces with juice. Leave ½-inch of headspace at the top of the jar. If the tomatoes did not release enough liquid to cover themselves, top the jar off with boiling water to reach the ½-inch headspace mark.
Step 6: Remove Bubbles and Seal
Run a plastic bubble remover tool (or a wooden chopstick) down the inside edges of the jar to release trapped air bubbles. Wipe the top rim of the jar perfectly clean with a damp paper towel. Apply the lids and tighten the bands just to “fingertip tight.”
Step 7: The Water Bath Process 🛁
Use your canning tongs to lower the jars back into the pot of boiling water. The water MUST cover the tops of the jars by at least 1 to 2 inches.
Place the lid on the pot and process at a rolling boil:
- Pints: 35 minutes.
- Quarts: 45 minutes.
(Note: Adjust processing time for high altitude if necessary!).
Step 8: The Cool Down
Turn off the heat, remove the pot lid, and wait 5 minutes. Carefully lift the jars out and place them on a towel on your kitchen counter. Do not touch them for 24 hours! You will hear the satisfying “POP” of the lids sealing.
👉 Want to learn how to can fruit? Read my beginner’s guide on [How To Can Peaches (Easy Water Bath Method)]!
🔒 Storage & Usage Tips
- Check the Seals: After 24 hours, press down on the center of the lids. If it is firm and concave, it is sealed! (If a jar didn’t seal, put it in the fridge and use it this week).
- Storage: Remove the metal bands so they don’t rust. Wipe the jars clean with a damp cloth, and store them in a cool, dark pantry for up to 12 to 18 months.