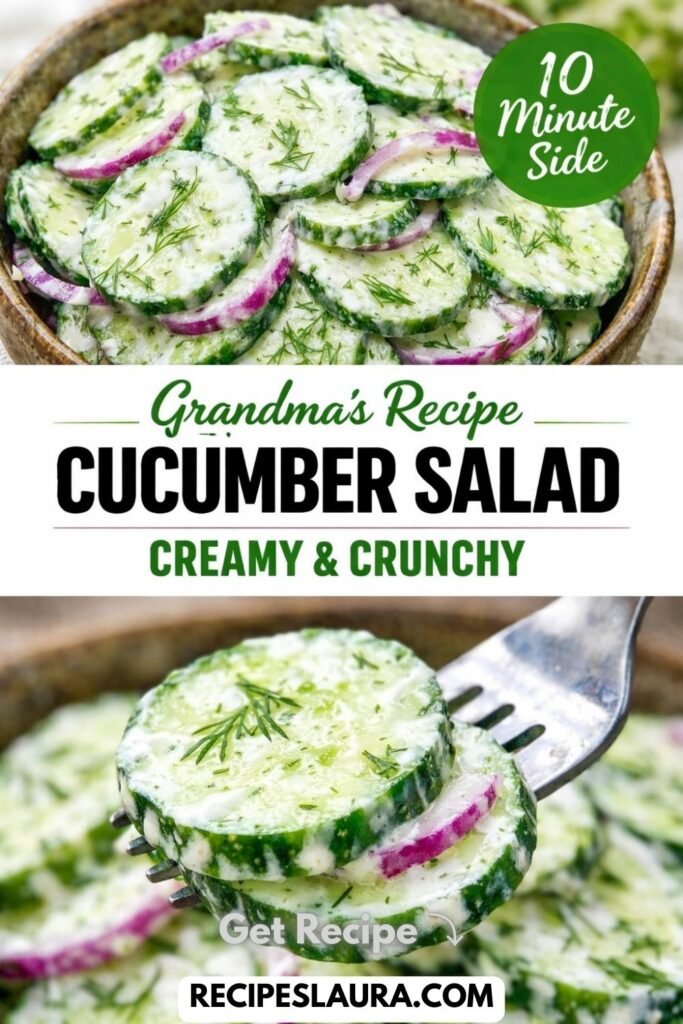
It is late July, which means the great cucumber avalanche has officially begun in gardens and farmers markets across America. You can only eat so many cucumber salads before you start looking for a way to preserve that fresh crunch.

If you are endlessly searching Pinterest for the absolute best refrigerator pickle recipes, your search ends today.
We all love the famous “Claussen” brand pickles from the refrigerated section of the grocery store because they deliver that loud, incredibly satisfying CRUNCH. Most homemade pickle recipes result in soft, mushy, or rubbery cucumbers. Why? Because they tell you to pour boiling hot liquid over your fresh vegetables!
Today, I am sharing the ultimate deli-secret: The Cold Brine Hack. By using a room-temperature brine and a little bit of patience, you will create the crispiest, tangiest, most garlicky refrigerator dill pickles you have ever tasted, with absolutely ZERO canning equipment required!
👉 Looking for the perfect main dish to serve these pickles with? Try my [Crispy Edge Blackstone Smash Burgers]!
🌟 Why You Will Love This Recipe
- The Ultimate Crunch: The cold brine method guarantees the cucumber cell walls stay completely intact and crisp.
- No Heat, No Cooking: Keep your kitchen cool! You don’t even need to turn on the stove for this recipe.
- Authentic “Deli” Flavor: Packed with fresh garlic, fresh dill, and whole spices for a robust, salty, sour bite.
- Zero Canning Experience Needed: No water baths, no sterilized seals, just pop them straight into the fridge!
🛒 Ingredients & The “Pickling Cucumber” Guide
For a perfectly crisp pickle, the type of cucumber you buy is non-negotiable!
- 1 ½ lbs Kirby Cucumbers (Pickling Cucumbers): (Do NOT use English cucumbers or standard waxy salad cucumbers! Pickling cucumbers are small, bumpy, and have a significantly lower water content, which makes them perfect for crunching).
- 4 to 6 cloves Fresh Garlic: (Peeled and lightly smashed to release their oils).
- 1 large bunch Fresh Dill: (Use the stems, fronds, and flower heads if you have them! Do not use dried dill weed).
- 1 tbsp Mustard Seeds, 1 tsp Black Peppercorns, & ¼ tsp Crushed Red Pepper Flakes.
The “Cold Brine” Base:
- 2 cups Filtered Water: (Do not use tap water if it is heavily chlorinated, as it can affect the flavor and crispness!)
- 1 cup White Distilled Vinegar: (Provides that sharp, classic deli pickle bite. Apple cider vinegar is too sweet for this specific recipe).
- 1 ½ tbsp Canning & Pickling Salt: (CRUCIAL: Do NOT use iodized table salt. Table salt contains anti-caking agents that will make your brine cloudy and your pickles dark).
🍳 Step-by-Step Masterclass Instructions
Step 1: The “Blossom End” Trim 🔪
Wash your Kirby cucumbers very thoroughly in cold water.
The Professional Secret: You MUST slice exactly 1/8-inch off the “blossom end” of every cucumber (the end opposite the stem). The blossom end contains an enzyme that causes pickles to soften and turn to mush!
Once trimmed, cut the cucumbers lengthwise into quarters to create spears.
Step 2: Pack the Jars
Grab two clean, 16-oz (pint) glass mason jars. Divide the smashed garlic cloves, fresh dill sprigs, mustard seeds, peppercorns, and red pepper flakes evenly into the bottom of the two jars.
Pack the cucumber spears tightly into the jars, standing straight up. Pack them as tightly as you can so they don’t float to the top later!
Step 3: Whisk the Cold Brine 🧊
Do NOT put this on the stove!
In a large liquid measuring cup or a glass bowl, whisk together the filtered water, white distilled vinegar, and pickling salt. Continue whisking vigorously for about 2 to 3 minutes until the salt is 100% completely dissolved and the liquid is totally clear.
Step 4: Pour and Submerge
Pour the cold vinegar brine directly into the mason jars, filling them until the cucumbers are completely submerged. Leave about ½-inch of headspace at the top of the jar. If a cucumber is sticking out of the liquid, push it down or trim the top off!
Step 5: The “Patience” Phase ⏱️
Wipe the rims of the jars dry and screw the lids on tightly. Place the jars immediately into the refrigerator.
The Hard Part: You MUST wait at least 48 to 72 hours before opening them! Because we used a cold brine, it takes a few days for the vinegar and garlic to penetrate the thick cucumber flesh. By day 3, they will be magical, bright green, and unbelievably crunchy.
👉 Have a giant, overgrown cucumber or zucchini instead? Check out my zero-waste [Sweet & Tangy Zucchini Relish]!
🌭 How to Serve Your Crisp Dill Pickles
- The Ultimate Burger: Layer them thick on a toasted bun with a juicy beef patty.
- Cuban Sandwiches: The sharp acidity cuts perfectly through rich roasted pork and ham.
- Potato Salad: Chop these pickles up and mix them into your summer potato or macaroni salad for a zesty crunch!
🔒 Storage & Shelf Life
- Refrigerator Storage ONLY: Because these are unpasteurized refrigerator pickles, they must live in the fridge at all times. They will stay incredibly crisp and flavorful for up to 6 weeks!
- Brine Reuse: Do NOT reuse the leftover brine for a second batch of cucumbers, as the acidity level drops as the cucumbers release water. But you can use the leftover pickle juice as a marinade for fried chicken!