July is prime raspberry picking season! If you just came home from the farmers market or a local berry farm with a massive haul of fresh red raspberries, you know that the clock is ticking. Raspberries are notoriously fragile and can turn mushy in the fridge within 48 hours.
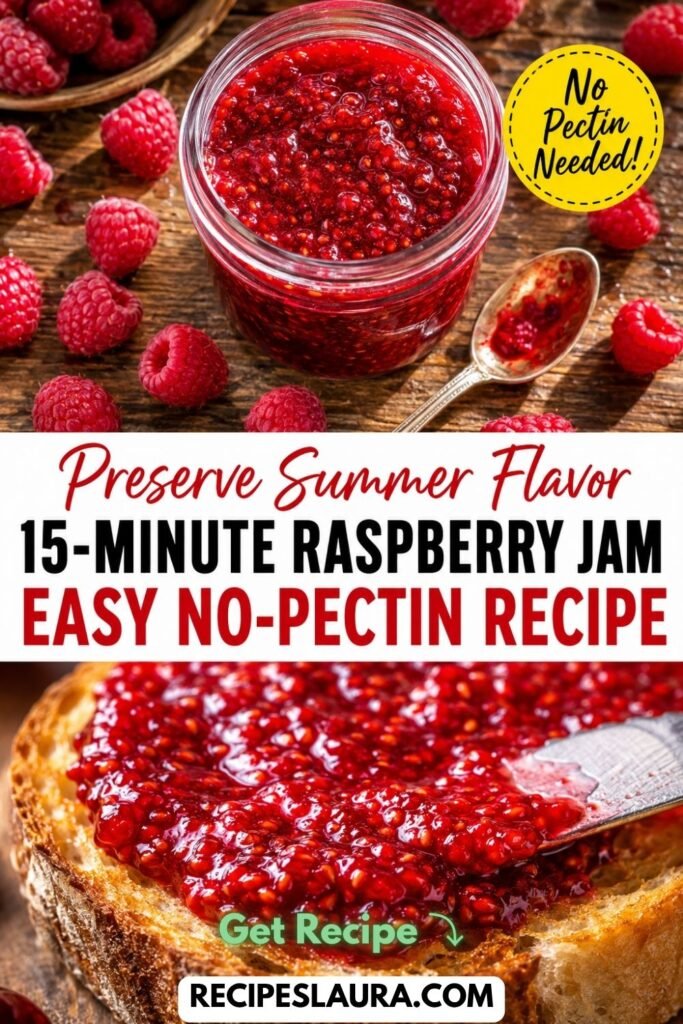
The absolute best way to save your precious summer harvest? Homemade Raspberry Jam.
If you are intimidated by canning or searching for the best raspberry recipes, this is the ultimate beginner-friendly guide. This 15-Minute Small Batch Raspberry Jam Recipe requires exactly 3 ingredients: fresh berries, sugar, and lemon juice.
You do NOT need to buy expensive boxes of fruit pectin at the store, and you don’t even need a massive canning pot. Today, I am sharing the professional “Frozen Spoon Test” so you get a perfectly thick, spreadable, ruby-red jam every single time!
👉 Looking for the perfect weekend breakfast to serve with this jam? Try my [Extra Fluffy Pancakes From Scratch]!
🌟 Why You Will Love This Recipe
- No Store-Bought Pectin: Raspberries and lemon juice naturally contain all the pectin you need to thicken the jam!
- Small Batch Magic: This recipe makes exactly one or two jars—perfect for when you only have a couple of pints of berries to use up.
- Ready in 15 Minutes: It cooks incredibly fast on the stovetop.
- Intense Flavor: Without commercial pectin watering it down, this jam tastes like pure, concentrated summer sunshine.
🛒 Ingredients & The “Natural Pectin” Guide
You only need 3 pantry staples to make this magic happen:
- 3 cups Fresh Raspberries: (Gently washed and patted dry. You can also use frozen raspberries if you are making this in the winter! Do not thaw them first).
- 1 ½ cups Granulated White Sugar: (Sugar is absolutely crucial here. It interacts with the natural pectin in the fruit to create the “gel” structure. Do not drastically reduce the sugar, or you will end up with raspberry syrup instead of jam!).
- 2 tbsp Fresh Lemon Juice: (Lemon juice serves two purposes: it brightens the flavor, and the high acidity is the chemical trigger that forces the natural pectin to set).
- Optional: ½ tsp of pure vanilla extract or a pinch of cinnamon for a gourmet twist!
🍳 Step-by-Step Masterclass Instructions
Step 1: Prep the “Frozen Spoon Test” 🥄
Before you even turn on the stove, place 3 or 4 small metal spoons directly into your freezer. You will need these ice-cold spoons later to test if your jam has reached the perfect setting point!
Step 2: Macerate the Berries
In a large, wide saucepan or Dutch oven (a wider pot helps the water evaporate faster!), combine the fresh raspberries, granulated sugar, and fresh lemon juice. Use a potato masher or the back of a wooden spoon to roughly crush the berries, releasing their natural juices. Let the mixture sit for 5 minutes.
Step 3: The Rolling Boil 🔥
Place the saucepan over medium-high heat. Stir constantly until the sugar completely dissolves. Bring the mixture to a full, rolling boil (a boil that cannot be stirred down).
Warning: It will bubble up furiously, which is why a large pot is necessary!
Step 4: Cook and Skim
Let the jam boil aggressively for 5 to 8 minutes, stirring frequently so it doesn’t burn on the bottom. If a thick pink foam rises to the top, use a cold metal spoon to gently skim it off and discard it (this foam is harmless, but removing it makes your jam beautifully clear and ruby-red!).
Step 5: The “Frozen Spoon Test” (Crucial!) ❄️
After 5 minutes of boiling, take one of your cold spoons out of the freezer. Drop half a teaspoon of the boiling jam onto the cold spoon. Put the spoon back in the freezer for exactly 1 minute.
Take it out and push the jam with your finger. If it wrinkles and holds its shape, your jam is done! If it is still runny like syrup, boil the pot for 2 more minutes and test again with a new cold spoon.
Step 6: Jar and Cool
Once the jam passes the wrinkle test, remove the pot from the heat. Carefully ladle the hot jam into a clean glass mason jar. Let it cool uncovered on the counter for 1 hour. It will continue to thicken significantly as it cools!
Seal with a lid and place it in the fridge.
👉 Want to learn how to preserve other summer fruits? Check out my beginner’s guide on [How To Can Peaches (Water Bath Method)]!
🍞 3 Genius Ways To Use Raspberry Jam
- Thumbprint Cookies: The perfect tart filling for sweet, buttery shortbread thumbprint cookies.
- The Ultimate PB&J: Upgrade your basic lunch with a thick smear of homemade jam.
- Yogurt & Oatmeal Bowls: Swirl a spoonful into plain Greek yogurt or warm morning oats for a burst of summer flavor.
🔒 Storage & Shelf Life
- Refrigerator Storage (Quick Method): Because this is a small-batch “refrigerator jam,” it has not been processed in a water bath canner. Store it in a sealed jar in the fridge for up to 1 month.
- Freezer Jam: Leave an inch of space at the top of the jar (for expansion), and freeze for up to 6 months! Thaw in the fridge overnight before using.