It is the peak of July, and local farmers markets are selling gorgeous, juicy, fragrant peaches by the 20-pound box. If you have already baked your weight in peach cobblers and crisps, it is time to start thinking about the winter. Imagine opening a jar of bright, golden, sunshine-sweet peaches in the middle of January!
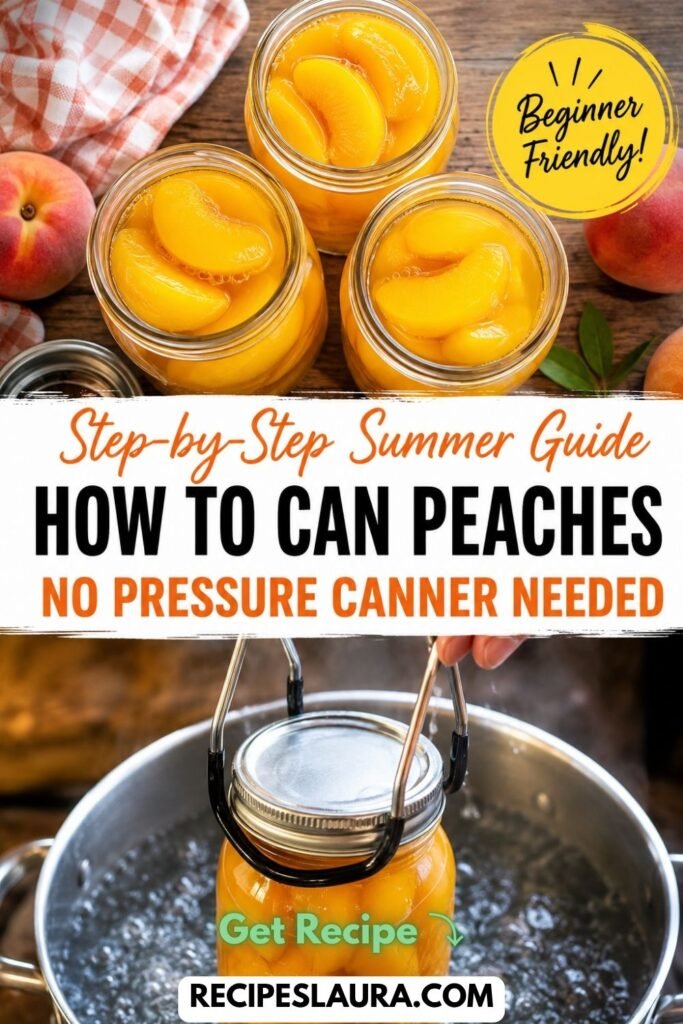
If you are intimidated by food preservation, take a deep breath. Canning peaches is actually one of the easiest beginner projects you can tackle.
Because peaches are a high-acid fruit, you do NOT need an expensive, scary pressure canner to preserve them safely. You can use the simple Water Bath Canning Method (which is just a large pot of boiling water!). This step-by-step guide will walk you through making a light, sweet syrup and the magical 30-second trick to peel a mountain of peaches without ever picking up a vegetable peeler.
👉 Looking for a quick recipe to use up your overripe peaches today? Try my 10-minute [Fresh Mango & Peach Salsa]!
🌟 Why You Will Love This Recipe
- No Pressure Canner Required: 100% safe to can in a standard boiling water bath.
- The Light Syrup: Store-bought canned peaches are drowning in heavy high-fructose corn syrup. We use a light, delicate sugar-water syrup that lets the true peach flavor shine.
- The “Blanch & Shock” Hack: Peeling peaches is a nightmare until you learn this professional culinary trick!
- Pantry Stable: Properly sealed jars will stay delicious in your pantry for 12 to 18 months.
🛒 Ingredients & The “Freestone” Guide
When canning, the type of peach you buy is the most important decision you will make!
- 10 to 12 lbs Fresh Peaches: (CRUCIAL SECRET: You MUST buy “Freestone” peaches! If you buy “Clingstone”, the fruit is glued to the pit, and you will destroy the peach trying to cut it out. Ask your farmer for Freestone! Ensure they are ripe but still slightly firm).
- 5 ½ cups Water.
- 1 ½ cups Granulated White Sugar: (This creates a “Light Syrup”. Sugar helps the fruit retain its shape, color, and texture in the jar).
- ¼ cup Bottled Lemon Juice: (Safety note: Always use commercial bottled lemon juice when canning, as it has a guaranteed acidity level. Fresh lemon juice varies too much!).
Equipment Needed:
- 6 Quart-sized Glass Mason Jars with new lids and bands.
- A large Water Bath Canner (or a massive stockpot with a rack at the bottom).
- Canning Tongs (Jar lifter).
🍳 Step-by-Step Masterclass Instructions
Step 1: Prep the Jars & Syrup
Wash your mason jars, lids, and bands in hot, soapy water. Place the jars in your canner pot, cover with water, and bring to a simmer to keep the jars hot. (Never put hot food into cold jars—they will crack!).
In a separate medium saucepan, combine the 5 ½ cups of water and 1 ½ cups of sugar. Bring to a simmer until the sugar dissolves. Keep this light syrup hot on the stove.
Step 2: The “Blanch and Shock” Peeling Hack 🧊
Bring a large pot of water to a rolling boil. Fill a large mixing bowl with cold water and ice cubes.
Using a slotted spoon, gently drop 3 or 4 peaches into the boiling water for 30 to 60 seconds (just until the skins start to split). Immediately transfer them to the ice water bath for 1 minute to stop the cooking.
The Magic: Grab a peach, gently pinch the skin, and watch it slip right off the fruit in one smooth motion! Zero peeling required!
Step 3: Halve and Pit
Cut the peeled peaches in half by running a knife around the natural seam. Twist the halves apart and pop out the pit (this is why Freestone peaches are essential!).
Step 4: Pack the Hot Jars (Hot Pack Method)
Carefully remove your hot jars from the canner. Add 2 teaspoons of bottled lemon juice to the bottom of each quart jar.
Pack the peach halves tightly into the hot jars, placing them cavity-side down so they overlap beautifully.
Step 5: Pour the Syrup and Remove Air Bubbles 🥄
Ladle the hot sugar syrup over the peaches, leaving a ½-inch headspace at the top of the jar. Run a plastic bubble remover tool (or a wooden chopstick) down the inside edges of the jar to release any trapped air bubbles. Add more syrup if the level drops. Wipe the rims of the jars perfectly clean with a damp paper towel. Apply the lids and tighten the bands just to “fingertip tight”.
Step 6: The Water Bath Process 🛁
Use your jar lifter to lower the sealed jars back into the pot of boiling water. Ensure the jars are covered by at least 1 inch of water. Place the lid on the pot and process at a rolling boil for 25 minutes (adjust time for high altitude if necessary).
Step 7: The Satisfying “POP”
Turn off the heat, remove the lid, and let the jars sit in the water for 5 minutes. Carefully lift the jars out and place them on a towel on your counter. Do not touch them for 24 hours! You will soon hear the glorious “POP” of the metal lids sealing shut.
👉 Want to bake a fresh dessert while your jars cool? Try my [Insanely Easy Peach Crisp Recipe]!
🔒 Storage & Usage Tips
- Check the Seals: After 24 hours, press down on the center of the lids. If it is firm and doesn’t click back, it is sealed! If it clicks, put that jar in the fridge and eat it this week.
- Storage: Remove the metal bands (so they don’t rust), wipe the jars clean, and store them in a cool, dark pantry for up to 12-18 months.
- How to Use: Serve them straight from the jar over vanilla ice cream, chop them up into yogurt, or use them to bake a quick winter cobbler!