August is officially here, and the great tomato avalanche has begun. When your garden starts producing 10 pounds of tomatoes a week, you can only eat so many salads before you need a long-term preservation plan.
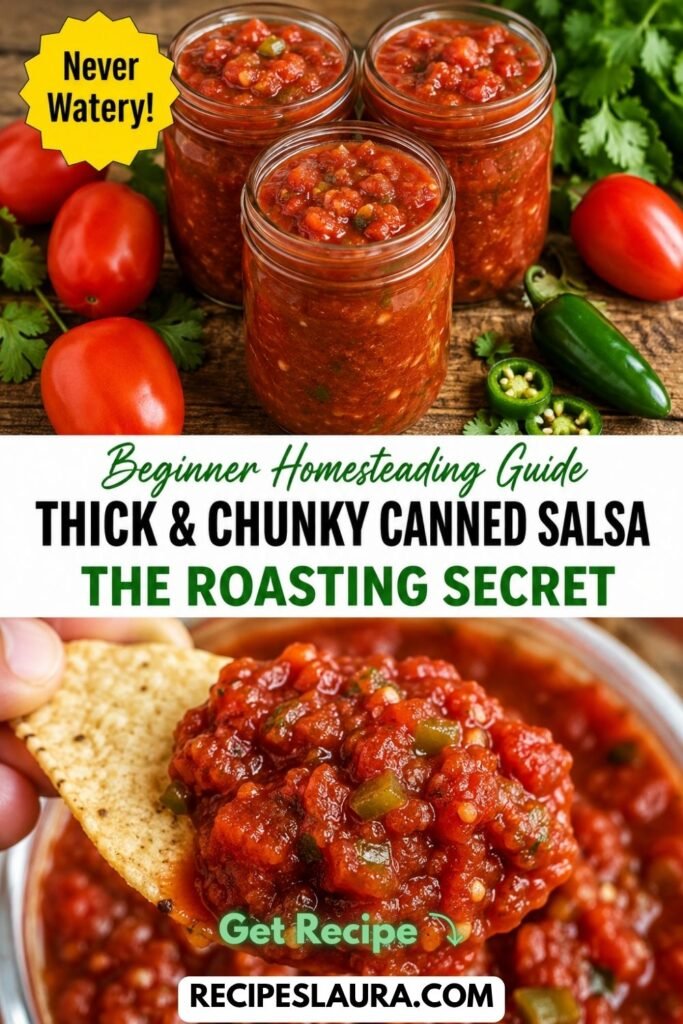
The undisputed champion of summer food preservation? Homemade Canned Salsa.
However, if you have ever looked up a canned salsa recipe with fresh tomatoes, you know the most common, heartbreaking complaint: “My salsa turned into a watery soup in the jar!” Because fresh tomatoes are over 90% water, boiling them in a canner causes them to release all their liquid, leaving you with a jar of pale pink water and soggy vegetables.
Today, I am going to teach you the professional homesteader’s “Roast First” Secret. By roasting your tomatoes before canning them, you evaporate the excess water, concentrate the sweet summer sugars, and create an unbelievably thick, rich, restaurant-style homemade salsa recipe that is completely safe for beginner water bath canning!
👉 Don’t have time to can today? Try my 5-minute raw [Restaurant-Style Homemade Salsa (Blender Secret)] for tonight’s dinner!
🌟 Why You Will Love This Recipe
- Thick, Scoopable Texture: No more soupy salsa ruining your tortilla chips!
- Beginner-Friendly Canning: This uses the simple boiling water bath method—no scary pressure canner required!
- Deep, Roasted Flavor: Roasting the tomatoes and peppers adds a smoky, complex depth that boiling simply cannot achieve.
- 100% Safe: Includes the crucial acidity rules to ensure your jars are safe from botulism for up to 18 months in the pantry.
🛒 Ingredients & The “Acidity” Safety Guide
When water bath canning, food safety is your #1 priority. You MUST follow the acidity rules!
- 10 lbs Fresh Roma or Paste Tomatoes: (Why Roma? They have thicker flesh and significantly less water than round slicing tomatoes!).
- 3 Large Onions: (Diced).
- 4 to 5 Jalapeño or Serrano Peppers: (Diced. Leave the seeds in if you like it hot, remove them for mild!).
- 6 cloves Fresh Garlic: (Minced).
- 1 cup Fresh Cilantro: (Chopped).
- 1 tbsp Ground Cumin, 1 tbsp Oregano, & 2 tbsp Canning Salt: (Do NOT use iodized table salt; it makes the jars cloudy).
- The Safety Ingredient (CRUCIAL): ½ cup Bottled Lime Juice or Bottled Lemon Juice. (You MUST use commercial bottled juice, NOT fresh squeezed! Bottled juice has a scientifically standardized pH level, guaranteeing your salsa is acidic enough to prevent botulism in a water bath canner).
🍳 Step-by-Step Masterclass Instructions
Step 1: The “Roast First” Hack (Do Not Skip!) 🔥
Preheat your oven to 400°F (200°C). Wash your Roma tomatoes, cut them in half lengthwise, and use your thumbs to gently squeeze out the watery seed pockets.
Place the tomato halves face-up on two large, rimmed baking sheets. Roast in the hot oven for 25 to 30 minutes.
The Magic: The oven heat evaporates the excess water and slightly blisters the skins, leaving you with dense, sweet, intensely flavored tomato meat! Let them cool slightly, then chop them up. (You can leave the skins on for a rustic texture, or pinch them off easily after roasting!).
Step 2: Prep the Jars
While the tomatoes roast, wash your pint-sized mason jars, lids, and bands in hot soapy water. Keep the glass jars hot by letting them sit in your canning pot filled with simmering water.
Step 3: Simmer the Salsa Base
In a large, heavy-bottomed stainless steel pot, combine your chopped roasted tomatoes, diced onions, diced jalapeños, minced garlic, cumin, oregano, and canning salt.
Bring the mixture to a gentle boil over medium-high heat, then reduce the heat and let it simmer for 10 minutes so the flavors marry together. Stir in the fresh cilantro right at the end!
Step 4: The Crucial Acidification 🛑
Remove your hot jars from the canning pot. Before adding any salsa, pour exactly 1 Tablespoon of Bottled Lime Juice into the bottom of every single empty pint jar. (This guarantees each jar reaches the safe pH level!).
Step 5: Pack the Jars
Ladle the hot, thick salsa into the jars, leaving ½-inch of headspace at the top. Run a plastic bubble remover tool (or a chopstick) around the inside edges of the jar to release any trapped air bubbles. Wipe the rims of the jars perfectly clean with a damp paper towel. Apply the lids and tighten the bands just to “fingertip tight.”
Step 6: The Water Bath Process 🛁
Using your canning tongs, lower the sealed jars into the pot of boiling water. The water MUST cover the tops of the jars by at least 1 to 2 inches.
Place the lid on the pot and process at a rolling boil for 15 minutes (adjust time for high altitude if necessary).
Step 7: Cool and Listen for the “POP”
Turn off the heat, remove the lid, and wait 5 minutes. Carefully lift the jars out and place them on a kitchen towel. Do not touch them for 24 hours! You will hear the metal lids “pop” as they vacuum seal.
👉 Want to learn how to can fruit? Read my beginner’s guide on [How To Can Peaches (Easy Water Bath Method)]!
🔒 Storage & Usage Tips
- Check the Seals: After 24 hours, press the center of the lids. If it is firm and concave, it is sealed! (If a jar didn’t seal, put it in the fridge and eat it this week).
- Storage: Remove the metal bands so they don’t rust. Store the sealed jars in a cool, dark pantry. They will stay vibrant and delicious for 12 to 18 months!
- Flavor Maturation: For the absolute best flavor, let the jars sit in the pantry for at least 2 weeks before opening so the garlic and jalapeños can infuse the tomatoes!