September is here, the weather is shifting, and the weekend calendar is quickly filling up with football tailgates, autumn bonfire parties, and early Halloween planning.

When you are hosting a fall gathering, you need a show-stopping appetizer that doubles as an edible centerpiece. If you are endlessly searching Pinterest for the best fall appetizers and fun football food ideas, I have the ultimate crowd-pleaser for you: The Pumpkin-Shaped Jalapeño Bacon Cheese Ball.
Do not be fooled by the shape—there is no actual pumpkin in this recipe! It is a rich, savory, incredibly addictive cheese ball packed with crispy bacon, sharp cheddar, green onions, and a hint of spicy jalapeño. To get that iconic bright orange color, we roll it in crushed Nacho Cheese Doritos!
But the real magic is the shape. Most people try to carve the pumpkin ridges by hand, resulting in a lopsided, messy blob. Today, I am sharing the professional “Plastic Wrap & Twine” hack that uses your refrigerator to do all the sculpting for you!
👉 Looking for a fun sweet treat to serve after the appetizers? Try my [“Apple” Back To School Cake Pops (The No-Crack Secret!)]!
🌟 Why You Will Love This Recipe
- The Ultimate “Wow” Factor: It literally looks like a perfect, adorable miniature pumpkin sitting on your snack board.
- 100% No-Bake: You mix it in one bowl and let the fridge do the work. Keep your kitchen clean!
- The “Twine” Hack: Flawless, deep pumpkin ridges without any messy hand-sculpting.
- Savory & Addictive: The combination of bacon, ranch seasoning, and cream cheese is the undisputed king of party dips.
🛒 Ingredients & The “Orange Coating” Guide
You only need a few savory staples to build this party masterpiece!
The Savory Cheese Ball Base:
- 2 blocks (16 oz total) Full-Fat Cream Cheese: (MUST be softened to room temperature! If it is cold, your cheese ball will be lumpy).
- 1 ½ cups Sharp Cheddar Cheese: (Freshly grated).
- 6 slices Bacon: (Cooked until extra crispy and finely crumbled).
- 1 Jalapeño Pepper: (Finely minced. Remove the seeds for a mild flavor, keep them if you want a spicy kick!).
- 3 Green Onions (Scallions): (Finely sliced).
- 1 packet (1 oz) Dry Ranch Seasoning Mix: (This provides all the garlic, onion, and herb flavor you need in one quick dump!).
The “Pumpkin” Disguise:
- 1 ½ cups Nacho Cheese Chips (like Doritos): (Finely crushed into crumbs. This provides the crunch and the bright orange pumpkin color! You can also use finely shredded cheddar cheese if you prefer).
- 1 Green Bell Pepper Stem: (When you cut a bell pepper for a salad, save the green stem! This will be the stem of our pumpkin).
- Crackers, Pretzels, and Crostini for dipping!
🍳 Step-by-Step Masterclass Instructions
Step 1: Mix the Cheesy Base 🥣
In a large mixing bowl, use an electric hand mixer to beat the softened cream cheese and the dry Ranch seasoning packet together until perfectly smooth and creamy.
Using a rubber spatula, vigorously fold in the shredded cheddar cheese, crumbled bacon, minced jalapeño, and green onions.
Step 2: Form the Ball
Lay a large, square sheet of clear plastic wrap flat on your kitchen counter. Scoop the entire cream cheese mixture directly into the center of the plastic wrap.
Gather the corners of the plastic wrap and pull them up, twisting them together tightly at the top to force the cheese mixture into a tight, solid round ball.
Step 3: The “Twine & Chill” Hack (The Ultimate Secret!) 🛑
How do we get those iconic, realistic pumpkin ridges? We use string!
Take 4 long pieces of cotton kitchen twine (baker’s twine) or 4 large rubber bands.
Wrap the strings tightly around the plastic-wrapped cheese ball, crossing them over each other to create 8 distinct sections (like cutting a pizza). Pull the strings tight enough so they bite deep into the cheese ball!
Place the tightly bound ball into the refrigerator for at least 2 hours (or overnight) so the cheese becomes rock-solid in that exact shape!
Step 4: The Orange Coating 🎃
Place your crushed Nacho Cheese chips into a shallow bowl.
Remove the firm cheese ball from the fridge. Use scissors to carefully snip and remove the strings, then gently peel away all the plastic wrap. You will be left with a flawless, ridged pumpkin shape!
Gently press the crushed orange chips all over the outside of the cheese ball until it is completely coated. (The ridges will stay intact!).
Step 5: The Stem and Serve
Transfer your bright orange cheese ball to a rustic wooden serving board. Gently press the real green bell pepper stem directly into the top center of the ball.
Surround your edible pumpkin with an assortment of crackers, pretzels, and apple slices. Serve immediately and wait for the compliments!
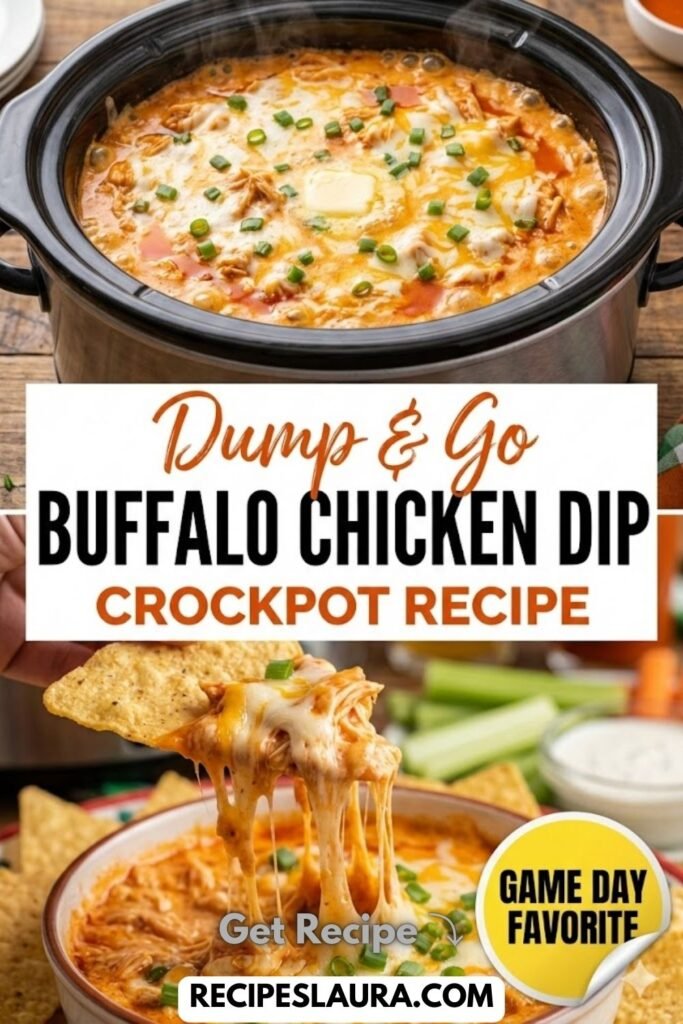
👉 Want a warm dip to serve next to this cold one? Check out my 15-minute [Crockpot Buffalo Chicken Dip]!
🔒 Make-Ahead & Storage Tips
- The Ultimate Party Prep: You can mix, shape, and tie the cheese ball up to 3 days in advance! Leave it wrapped in the fridge.
- The Coating Rule: Do NOT roll the cheese ball in the crushed chips until 30 minutes before your party! If it sits in the fridge with the chips on it, the chips will absorb moisture and become soggy.
- Leftovers: Store any leftover cheese ball in an airtight container in the fridge for up to 4 days. It is incredible spread on a morning bagel!