Watermelon is the undisputed king of summer snacks. It is hydrating, naturally sweet, and perfect for pool days. But if you have kids, you know the struggle of the traditional “triangle” slice: as soon as they take a bite, the juice runs down their arms, and their cheeks get completely covered in a sticky red mess!
Today, I am going to teach you how to cut a watermelon the smart way.
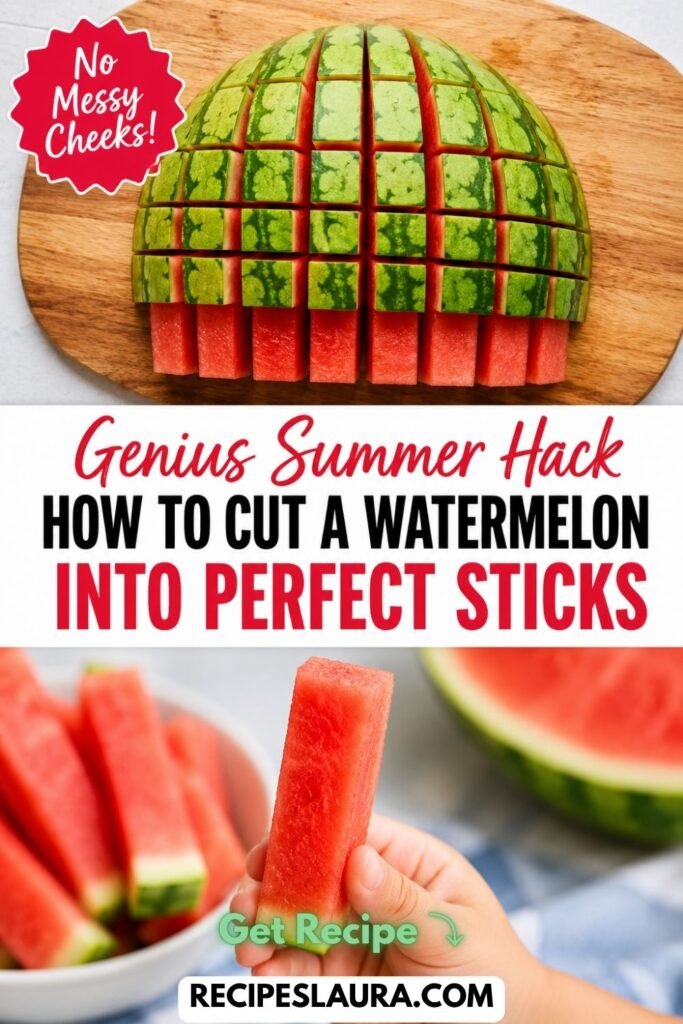
This “Watermelon Sticks” kitchen hack creates uniform, perfect little blocks of fruit that are easy for small hands to hold, look incredibly aesthetic on a summer party platter, and completely eliminate sticky cheeks! It takes exactly 60 seconds to do, and you will never cut a melon any other way again.
🍉 Bonus Hack: How to Pick a Good Watermelon!
Before you cut it, you have to buy a good one! If you are wondering how to pick a watermelon at the grocery store, use the 3-step test:
- The Field Spot: Look for a large yellow or creamy spot on the bottom of the melon. If it is white or green, it was picked too early. Yellow means it ripened fully in the sun!
- The Weight: Pick it up. It should feel incredibly heavy for its size (that means it is full of juice!).
- The Webbing: Look for brown, web-like scratches on the rind. This means bees pollinated the flower a lot, which translates to a sweeter watermelon!
👩🍳 Step-by-Step Cutting Instructions
The Tools You Need:
- A very large, sharp Chef’s Knife (do not use a small paring knife, it is dangerous on a large melon!).
- A large, sturdy cutting board.
Step 1: Wash the Melon
Always wash the outside of your watermelon before cutting! Even though you don’t eat the rind, the knife blade drags whatever bacteria is on the outside straight into the flesh as you cut.
Step 2: The Halving
Place the watermelon horizontally on your cutting board. Use your large chef’s knife to carefully cut the entire watermelon in half straight down the middle, leaving you with two large domes.
Step 3: Face Down for Safety 🛑
Place one of the watermelon halves flat-side down on the cutting board. Why? Trying to slice a wobbly, rolling fruit is how kitchen accidents happen! Placing the flat side on the board creates a perfectly stable, safe base to cut on.
Step 4: The Vertical Slices
Take your knife and cut straight down across the entire dome of the melon, making slices that are about 1-inch to 1.5-inches thick. Keep the melon together; do not separate the slices yet!
Step 5: The “Grid” Pattern
Turn your cutting board 90 degrees. Make the exact same cuts across the slices you just made. You are essentially cutting a checkerboard or “grid” pattern into the back of the green rind.
Step 6: Pull and Serve!
You are done! Now, simply pull one of the squares from the grid out. You have a perfect, long stick of watermelon with a convenient little green “handle” at the bottom!
🧊 Storage Tip:
If you are taking these to the beach or a BBQ, place the sticks upright in a large, deep Tupperware container. They pack together so neatly and take up much less room in your cooler than awkward triangle slices!