August is officially here, and the great cucumber avalanche has begun. While quick refrigerator pickles are fantastic for immediate snacking, if your garden is producing 10 pounds of cucumbers a week, you need a long-term food preservation strategy.
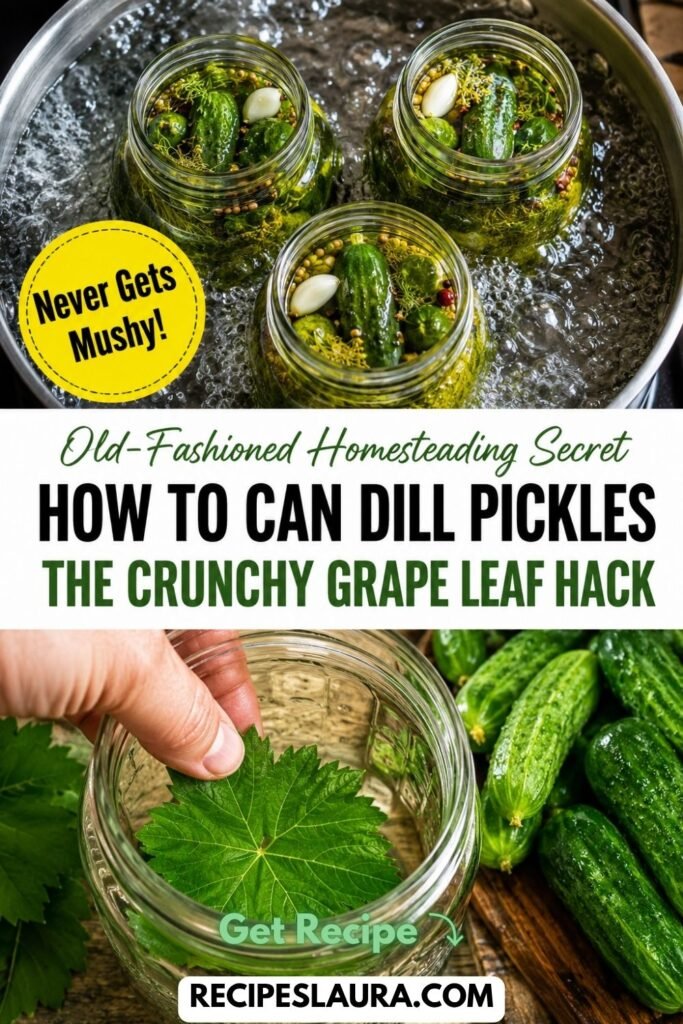
It is time to pull out the mason jars and learn how to make shelf-stable Homemade Pickles.
If you are looking for the absolute best canning pickles recipe, you have likely heard the horror stories. Unlike refrigerator pickles, canned pickles must be processed in boiling water to seal the jars safely. Unfortunately, boiling fresh cucumbers usually turns them into soft, mushy, unappetizing sponges.
But not today! Today, I am sharing the holy grail of all pickle recipes. I will teach you the legendary homesteader’s “Grape Leaf Secret”—a natural, 100-year-old trick that uses tannins to completely stop the softening process, guaranteeing your canned dill pickles stay loud-crunch-crispy on your pantry shelf all winter long!
👉 Drowning in tomatoes too? Check out my beginner’s guide on [How To Can Diced Tomatoes (Easy Water Bath Method)]!
🌟 Why You Will Love This Recipe
- Shelf-Stable: These jars do not take up precious refrigerator space. They live in your pantry for up to 18 months!
- The “Grape Leaf” Crunch: A natural, chemical-free way to ensure your pickles snap when you bite into them.
- Beginner-Friendly: Uses the simple Boiling Water Bath method. No scary pressure canner required!
- Old-Fashioned Deli Flavor: Packed with fresh garlic, dill crowns, and mustard seeds for that authentic, robust, sour deli bite.
🛒 Ingredients & The “Tannin” Guide
For a perfectly crisp canned pickle, the ingredients you put into the jar matter deeply!
- 3 lbs Kirby Cucumbers (Pickling Cucumbers): (Crucial: Do not use salad cucumbers. Pickling cucumbers have thick skins and less water. Use them within 24 hours of picking for the best crunch!).
- The Secret Ingredient: Fresh Grape Leaves: (Or fresh Oak Leaves, or a pinch of loose Black Tea! These contain natural “tannins.” Tannins neutralize the enzymes in the cucumber that cause mushiness during the boiling process).
- Fresh Garlic: (2 cloves per jar, smashed).
- Fresh Dill Crowns: (1 large dill flower head or a thick sprig of dill fronds per jar).
- Mustard Seeds & Black Peppercorns: (1 tsp of each per jar).
The Canning Brine:
- 3 cups Filtered Water: (Do not use hard tap water!).
- 2 ¾ cups White Distilled Vinegar (5% Acidity): (Do not reduce the vinegar! The 5% acidity is what makes water bath canning safe from botulism).
- ¼ cup Canning & Pickling Salt: (Do NOT use iodized table salt, as it contains anti-caking agents that will turn your brine cloudy and brown).
🍳 Step-by-Step Masterclass Instructions
Step 1: The “Blossom End” Trim 🔪
Wash your Kirby cucumbers very thoroughly in cold water. The Second Secret to Crunch: You MUST slice exactly 1/8-inch off the “blossom end” of every single cucumber (the end opposite the stem). The blossom end contains an enzyme that causes pickles to soften. Cut the cucumbers into spears or leave them whole if they are small!
Step 2: Sterilize the Jars
Wash 4 pint-sized glass mason jars, lids, and bands in hot soapy water. Submerge the glass jars in your large canning pot filled with simmering water to keep them hot.
Step 3: The “Grape Leaf” Pack 🍃
Remove the hot jars from the water. Into the bottom of EACH jar, place one fresh, washed grape leaf (or a pinch of black tea leaves). Drop in the garlic cloves, dill, mustard seeds, and peppercorns.
Pack the cucumber spears tightly into the jars, standing straight up. Pack them as tightly as humanly possible so they don’t float!
Step 4: Boil the Brine
In a medium stainless steel saucepan, combine the water, white vinegar, and pickling salt. Bring to a rolling boil over medium-high heat, stirring until the salt is completely dissolved.
Step 5: Pour and Remove Bubbles
Carefully pour the boiling brine directly over the raw cucumbers in the jars. Leave exactly ½-inch of headspace at the top of the jar.
Take a plastic bubble remover tool (or a wooden chopstick) and slide it down the inside edges of the jar to release trapped air bubbles. Add a splash more brine if the liquid level drops. Wipe the rims perfectly clean and screw on the lids “fingertip tight.”
Step 6: The Water Bath Process 🛁
Using canning tongs, carefully lower the sealed jars back into the pot of boiling water. The water MUST cover the tops of the jars by at least 1 to 2 inches.
Place the lid on the pot and process at a rolling boil for 10 to 15 minutes (adjust for high altitude if necessary). Do not over-boil them!
Step 7: The “Patience” Phase
Remove the jars and let them cool undisturbed on a towel for 24 hours. You will hear the magical “POP” of the lids sealing!
The Hard Part: Store the sealed jars in a dark pantry and wait at least 4 WEEKS before opening them! The cucumbers need time to absorb the brine and transform into true pickles.
👉 Need to use up some summer zucchini too? Make my zero-waste [Sweet & Tangy Zucchini Relish]!
🔒 Shelf Life & Safety Tips
- Check the Seals: After 24 hours, press down on the center of the lids. If it is firm and concave, it is safely sealed! If a lid clicks up and down, put that jar in the fridge and eat it first.
- Pantry Life: Remove the metal bands so they don’t rust. Store the sealed jars in a cool, dark place. They will stay crunchy and delicious for up to 12 to 18 months!