When the July heatwave hits, turning on your oven to bake a cake is the absolute last thing you want to do. But what happens when you need a spectacular, crowd-pleasing dessert for a summer birthday, a pool party, or a neighborhood BBQ?
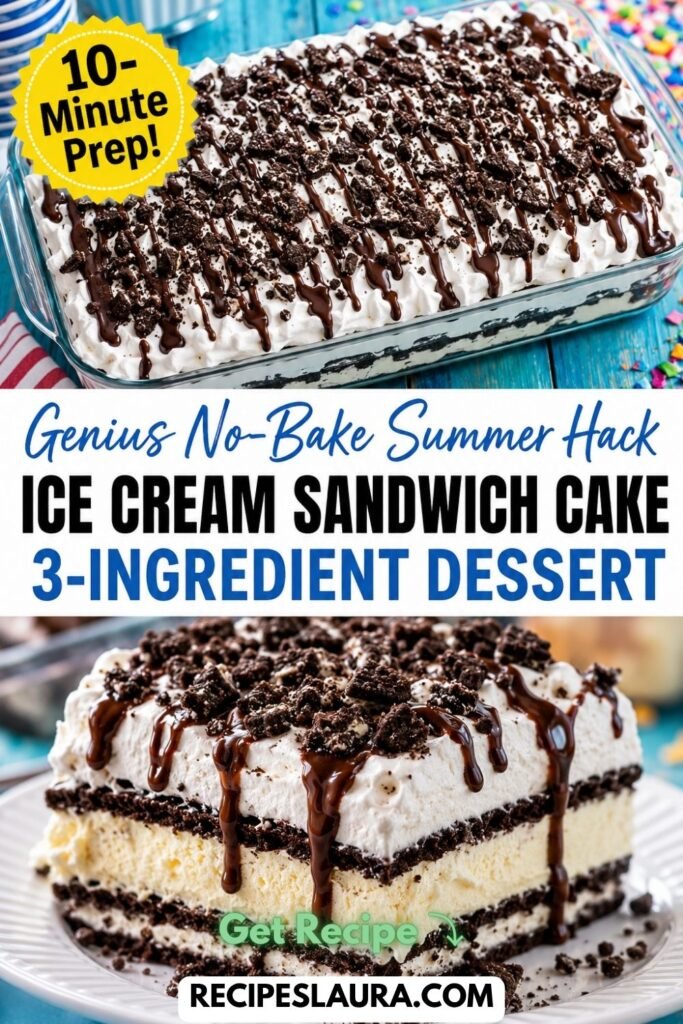
Enter the viral Ice Cream Sandwich Cake!
This genius “lazy” dessert hack is taking over the internet because it looks like a fancy, expensive ice cream parlor cake, but it takes exactly 10 minutes to assemble. Using just 3 store-bought ingredients—classic ice cream sandwiches, whipped topping, and chocolate fudge—you can build a stunning, sliceable ice cream sandwich dessert that will have everyone begging for the recipe.
👉 Looking for a fresh, fruity dip to serve alongside this cake? Try my 2-minute [3-Ingredient Cream Cheese Fruit Dip]!
🌟 Why You Will Love This Recipe
- Zero Baking Required: No oven, no mixing bowls, no measuring cups!
- Only 3 Ingredients: You just need ice cream sandwiches, Cool Whip, and chocolate sauce.
- Kid-Approved: Children absolutely lose their minds over this giant ice cream creation.
- Budget-Friendly: Feeds a massive crowd of 12-15 people for under $10.
🛒 Ingredients & The “Clean Slice” Guide
This recipe relies entirely on clever assembly. Here is what you need:
- 24 Classic Ice Cream Sandwiches: (The rectangular ones with vanilla ice cream and the soft chocolate cookie wafers. You will need about two 12-count boxes).
- 1 tub (16 oz) Whipped Topping (Cool Whip): (Make sure it is thawed in the fridge so it spreads easily! Do not use canned whipped cream; it will melt and collapse).
- 1 jar (11 oz) Hot Fudge Sauce or Chocolate Syrup: (For layering and drizzling).
- Optional Toppings: Crushed Oreos, M&M’s, rainbow sprinkles, or chopped peanuts!
🍳 Step-by-Step Masterclass Instructions
Step 1: Prep the Dish (The Foil Hack) 🛑
If you want to serve this cake on a beautiful platter rather than scooping it out of a dish, line your 9×13-inch baking pan with aluminum foil or parchment paper, leaving a long overhang on the sides. This allows you to lift the entire frozen cake out later!
Step 2: The First Ice Cream Layer
Unwrap 12 ice cream sandwiches. Arrange them in a single, tight layer at the bottom of your 9×13 pan. Pro Tip: You may need to cut one or two sandwiches in half with a sharp knife to fill in any empty gaps at the edges of the pan.
Step 3: The Fudge & Fluff Layer
Spread half of your thawed whipped topping (about 8 oz) in an even layer over the ice cream sandwiches. Drizzle a generous amount of hot fudge sauce (warmed slightly so it pours easily) right over the whipped topping. If using crushed Oreos, sprinkle a handful here!
Step 4: The Second Layer
Unwrap the remaining 12 ice cream sandwiches and lay them directly on top of the fudge/whipped cream layer, pressing down very gently to secure them.
Step 5: Frost and Decorate
“Frost” the entire top of the cake with the remaining whipped topping, smoothing it out with a spatula just like a real cake. Drizzle heavily with more chocolate fudge and top with rainbow sprinkles or crushed cookies.
Step 6: The “Deep Freeze” Rule (Crucial!) ❄️
Do NOT serve this immediately! Cover the dish tightly with plastic wrap or aluminum foil and place it in the freezer for at least 2 to 4 hours (or overnight).
Why this matters: As it sits in the freezer, the layers fuse together, the whipped topping sets up like ice cream, and the sandwiches become incredibly easy to slice into perfect, clean squares!
🍦 3 Epic Flavor Variations
- Neapolitan Cake: Use strawberry-flavored ice cream sandwiches and strawberry syrup!
- Mint Chocolate Chip: Use mint chocolate ice cream sandwiches and top with crushed Andes mints.
- Peanut Butter Cup Explosion: Drizzle warmed peanut butter over the middle layer and top the cake with chopped Reese’s Peanut Butter Cups.
🔒 Storage Instructions
- Freezer Storage: Keep the cake tightly covered in the freezer. It will stay fresh and delicious for up to 1 week.
- Slicing Tip: When ready to serve, remove the cake from the freezer and let it sit at room temperature for just 5 minutes. Run a large chef’s knife under hot water, wipe it dry, and slice for beautiful, bakery-quality cuts!