It is Sunday evening. You have had a long weekend, the reality of Monday morning is creeping in, and suddenly, you are hit with a massive, undeniable craving for rich, warm, decadent chocolate.
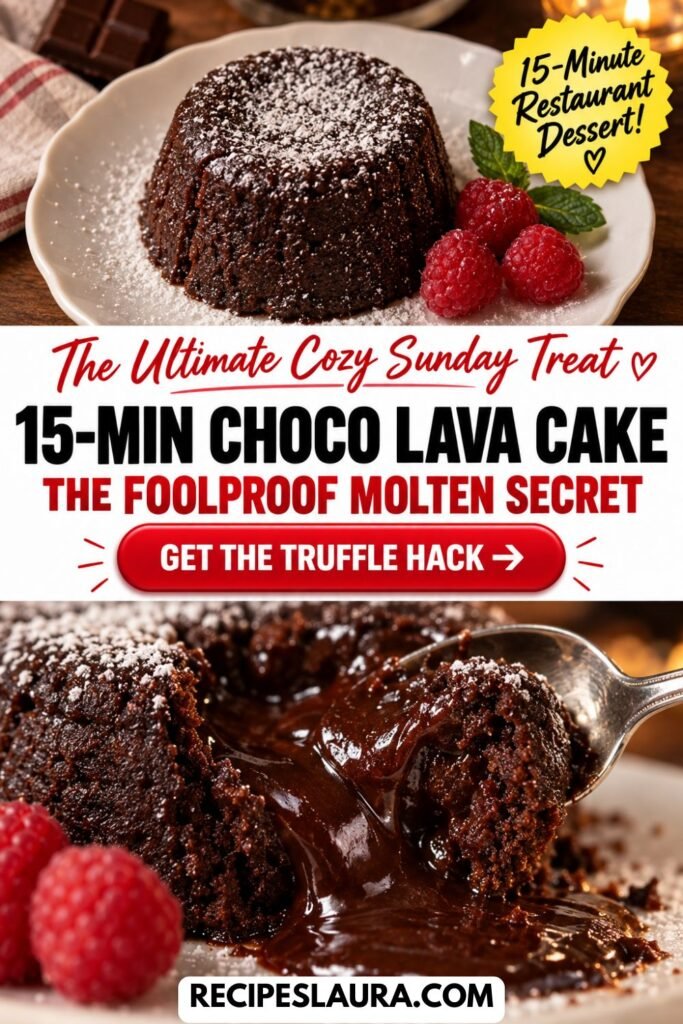
You could make a batch of cookies or reach for a store-bought candy bar, but you want something that feels special. You want a 5-star restaurant dessert without having to change out of your sweatpants.
Enter the ultimate weekend lifesaver: The 15-Minute Molten Chocolate Lava Cake.
If you are endlessly searching Pinterest for an easy choco lava cake recipe, you have probably noticed that most people are terrified to make them at home. The margin for error seems impossibly small: bake it 60 seconds too long, and you have a dry chocolate muffin. Bake it 60 seconds too little, and the cake collapses into a puddle of raw batter when you flip it out of the dish.
Not anymore! Today, I am sharing the professional pastry chef “Cold Truffle” hack that guarantees a flawlessly thick, flowing, molten liquid center every single time, even if you accidentally overbake it!
👉 Looking for a quick, 1-minute chocolate fix instead? Try my viral [1-Minute Microwave Mug Cookie (No Egg!)]!
🌟 Why You Will Love This Recipe
- The “Foolproof” Guarantee: My secret chocolate center trick ensures you get the “lava” flow without relying purely on a raw batter center.
- Ready in 15 Minutes: 5 minutes of prep and 10 minutes in the oven. It is faster than ordering dessert delivery!
- Pantry Staples Only: You only need 6 basic ingredients. No fancy equipment required.
- The “Cocoa Dusting” Hack: Say goodbye to cakes sticking to the ramekin or having an ugly white flour coating on the outside!
🛒 Ingredients & The “Chocolate” Guide
This recipe relies heavily on the quality of your chocolate, so choose wisely!
- ½ cup (1 stick) Unsalted Butter: (Plus extra for greasing the ramekins).
- 4 oz High-Quality Semi-Sweet Baking Chocolate: (CRUCIAL: Do NOT use chocolate chips! Chocolate chips have stabilizers that prevent them from melting smoothly into a liquid. Buy a high-quality baking bar like Ghirardelli or Lindt and chop it up!).
- 1 cup Powdered Sugar (Confectioner’s sugar).
- 2 Large Eggs + 2 Large Egg Yolks: (The extra yolks provide that rich, custardy, fudgy texture).
- 1 tsp Pure Vanilla Extract & A pinch of Salt.
- 6 tbsp All-Purpose Flour: (Spoon and leveled).
The Secret “Lava” Ingredient:
- 4 Lindt Lindor Chocolate Truffles OR 4 squares of premium chocolate: (Keep these perfectly cold in the fridge!)
🍳 Step-by-Step Masterclass Instructions
Step 1: The “Cocoa Dust” Ramekin Prep 🛑
Preheat your oven to 425°F (220°C). (A very hot oven is required to set the outside of the cake quickly while leaving the inside gooey!).
The biggest mistake home bakers make is greasing their ramekins with butter and flour, which leaves ugly white streaks on the dark cake.
The Secret: Generously butter the inside of 4 small ceramic ramekins. Then, dust the insides with unsweetened cocoa powder, tapping out the excess. This guarantees the cakes slide right out and stay beautifully dark chocolate colored!
Step 2: Melt the Butter and Chocolate
Place the chopped baking chocolate and the stick of butter into a microwave-safe bowl. Microwave in 30-second increments, stirring in between, until completely melted, smooth, and glossy. Let it cool for 1 minute.
Step 3: Whisk the Eggs and Sugar
In a separate medium bowl, whisk together the powdered sugar, 2 whole eggs, 2 egg yolks, vanilla extract, and salt. Whisk vigorously for 1 minute until the mixture is slightly pale and frothy.
Pour the melted chocolate mixture into the egg mixture and whisk until smooth.
Step 4: Fold the Flour
Sprinkle the 6 tablespoons of flour over the batter. Use a rubber spatula to gently fold the batter just until the white streaks of flour disappear. Do not overmix!
Step 5: The “Cold Truffle” Hack (The Ultimate Secret!) 🌋
Divide the thick chocolate batter evenly among your 4 prepared ramekins.
Here is how you cheat the system: Take your 4 cold chocolate truffles (or cold chocolate squares) from the fridge. Gently press one truffle directly into the center of the batter in each ramekin, pushing it down just enough so it is covered by the batter.
Why this works: Even if you accidentally bake the cakes too long and the batter fully cooks, that cold truffle in the center will melt into a perfect pool of hot, flowing liquid chocolate lava!
Step 6: The High-Heat Bake 🔥
Place the ramekins on a baking sheet and bake in the 425°F oven for 10 to 12 minutes.
The edges should look firm and baked, but the very center (about the size of a coin) should still look slightly soft and jiggly.
Step 7: The “Flip” and Serve
Remove from the oven and let them sit in the ramekins for exactly 1 minute.
Place a small dessert plate upside down over the top of the ramekin. Using oven mitts, hold the plate and ramekin together and confidently flip them over. Gently lift the ramekin away.
Dust heavily with powdered sugar, top with a massive scoop of vanilla bean ice cream, and break into the cake to watch the lava flow!
👉 Want to bake a cozy fruit dessert next weekend? Check out my [3-Ingredient Caramel Apple Dump Cake]!
🔒 Make-Ahead & Reheating Tips
- Make-Ahead Magic: You can make the batter, fill the ramekins, cover them tightly with plastic wrap, and store them in the fridge for up to 2 days! When ready to bake, just add 1 to 2 extra minutes to the baking time since the batter is cold.
- Reheating: If you have a leftover baked lava cake, microwave it for exactly 15 seconds. The center will turn back into molten lava instantly!