Summer break is here, and if you are already hearing the dreaded words “I’m bored,” I have the ultimate solution for you.
When it is too hot to play outside and you need a fun, interactive project, you have to make Ice Cream in a Bag. This is not just one of the best easy summer dessert recipes; it is actually a mini science experiment!
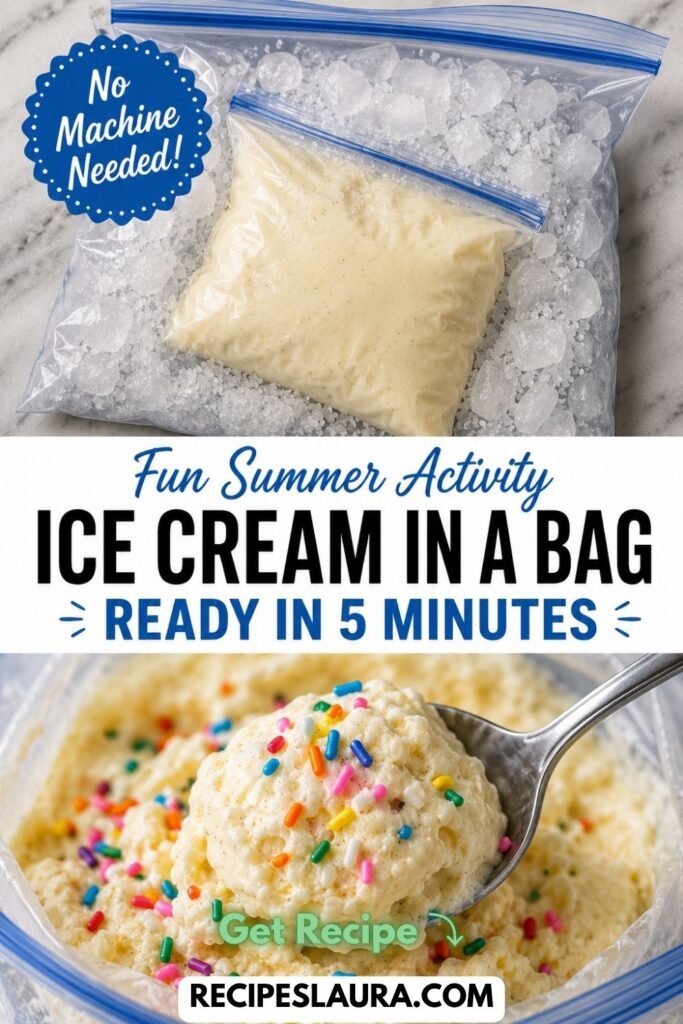
You don’t need a fancy, expensive ice cream machine. With just a few simple pantry ingredients, some ice, and a little bit of shaking, your kids can magically transform liquid milk into creamy, delicious ice cream in exactly 5 minutes. It is the perfect summer snack for kids!
🛒 The Ingredients (The 4-Item List)
You will need two sizes of Ziplock bags: One small (sandwich size) for the ice cream, and one large (gallon size) for the ice!
The Ice Cream Mixture:
- 1 cup Half & Half (Or use 1/2 cup whole milk + 1/2 cup heavy cream for the richest texture!).
- 2 tbsp Granulated Sugar.
- 1/2 tsp Pure Vanilla Extract.
The “Freezer” Bag:
- 3 cups Ice Cubes.
- 1/3 cup Coarse Salt (Kosher salt or Rock salt works best. See the science hack below!).
👩🍳 Step-by-Step Instructions (Shake it up!)
Step 1: Mix the Magic
In your small, sandwich-sized Ziplock bag, pour in the half & half, sugar, and vanilla extract.
Crucial Step: Squeeze out as much air as possible before sealing the bag tightly. (I highly recommend double-bagging this liquid mixture in a second small bag just in case one leaks!).
Step 2: The Ice Bath
In your large, gallon-sized Ziplock bag, add the 3 cups of ice and the 1/3 cup of coarse salt.
Step 3: The Science Hack (Why the Salt?) 🛑
Do not skip the salt! Adding salt to ice actually lowers the freezing point of water. This means the ice gets colder than freezing (down to about 14°F / -10°C) without melting immediately. This extreme cold is what freezes your liquid milk into ice cream so fast!
Step 4: The Shake!
Place your small, sealed liquid bag directly inside the large ice bag. Seal the large bag tightly.
Now, shake vigorously for 5 to 8 minutes!
Pro-Tip: The bag will get incredibly, dangerously cold. Have your kids wear winter gloves or wrap the bag in a kitchen towel while they shake it!
Step 5: Rinse and Serve
Once the mixture has hardened into ice cream, remove the small bag from the ice. Rinse the outside of the small bag with cold water immediately! If you don’t rinse it, the salty water on the outside of the bag will drip into your sweet ice cream when you open it.
Step 6: Decorate!
Grab a spoon and eat it right out of the bag, or scoop it into a bowl and top with chocolate syrup, crushed Oreos, and rainbow sprinkles!