Summer is in full swing, and as the temperatures rise, turning on the oven to bake a pie sounds like a terrible idea. But when you are invited to a weekend BBQ or a pool party, you still need to bring a dessert that will blow everyone away!
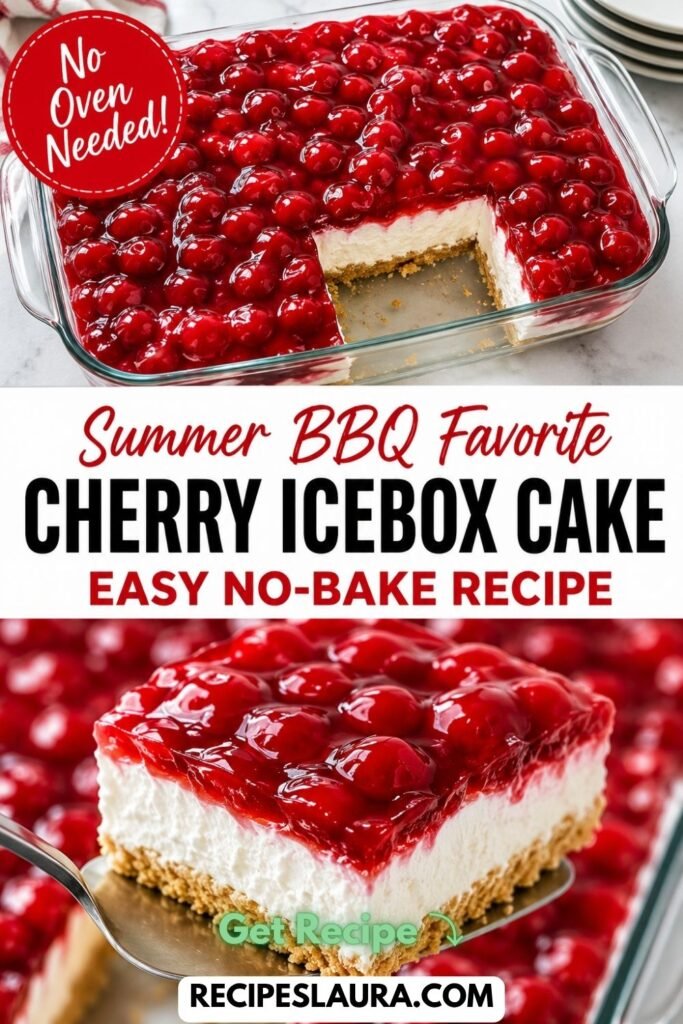
Enter the ultimate summer savior: The No-Bake Cherry Cheesecake Icebox Cake.
If you are looking for cherry dessert recipes, this is the holy grail. It takes the classic, nostalgic flavors of a cherry cheesecake and turns them into a foolproof, layered dessert that requires zero cooking. It takes 15 minutes to assemble, and the refrigerator does all the hard work for you. It’s light, creamy, fruity, and guaranteed to be the first empty dish at your next potluck!
🛒 The Ingredients (Only 5 Things!)
We are using a brilliant grocery store shortcut for the topping to save you time.
- 2 boxes (14.4 oz each) Honey Graham Crackers (You will need about 24 full sheets).
- 1 block (8 oz) Cream Cheese, softened to room temperature. (Crucial: Do not use cold cream cheese or your filling will be lumpy!).
- 1 box (3.4 oz) Instant Vanilla Pudding Mix (Just the dry powder!).
- 1 1/2 cups Cold Milk.
- 1 tub (8 oz) Cool Whip, thawed.
- 1 can (21 oz) Cherry Pie Filling (Or you can make a homemade cherry compote if you have lots of fresh summer cherries!).
👩🍳 Step-by-Step Instructions
Step 1: The Creamy Cheesecake Filling
In a large mixing bowl, beat the softened cream cheese with a hand mixer until it is completely smooth.
Add the dry instant vanilla pudding mix and the cold milk. Beat for about 2 minutes until the mixture is thick and heavy.
Step 2: Fold the Cloud
Using a rubber spatula, gently fold the thawed Cool Whip into the cream cheese mixture. Do not use the electric mixer for this, or you will deflate the air! You want a light, fluffy, cloud-like cream.
Step 3: Build the Layers
Line the bottom of a 9×13 inch glass baking dish with a single layer of graham crackers. (You can break some crackers in half to fill any empty gaps!).
Spread half of your fluffy cheesecake filling evenly over the crackers.
Step 4: Repeat!
Add a second layer of graham crackers. Spread the remaining half of the cheesecake filling over the top.
Step 5: The “Fridge Magic” Rule (DO NOT SKIP!) 🛑
At this point, you might be tempted to add the cherry pie filling. Don’t do it yet!
Cover the dish with plastic wrap and place it in the refrigerator for at least 4 to 6 hours (overnight is best!).
The Science: As the dessert sits in the fridge, the dry graham crackers absorb the moisture from the creamy filling. They magically soften and transform into a spongey, cake-like texture!
Step 6: The Cherry Topping 🍒
Right before you are ready to serve the dessert, open your can of cherry pie filling and spread it in a beautiful, even, glossy red layer over the top of the chilled cheesecake cream.
🔪 How to Get Perfect Slices:
Because the graham crackers have softened into cake, you can slice this dessert perfectly! Use a large, sharp knife, and wipe the blade clean with a wet paper towel between every single cut. This ensures the bright red cherry filling doesn’t smear down the sides of the beautiful white cheesecake layers!