Summer is finally here, which means it is officially S’mores season! There is nothing better than the classic combination of toasted marshmallows, melting chocolate, and crunchy graham crackers.
But let’s be honest: setting up a campfire, smelling like smoke for two days, and fighting off mosquitoes isn’t always on the agenda. What if you want that nostalgic, gooey summer flavor on a rainy Tuesday night or for a large indoor party?
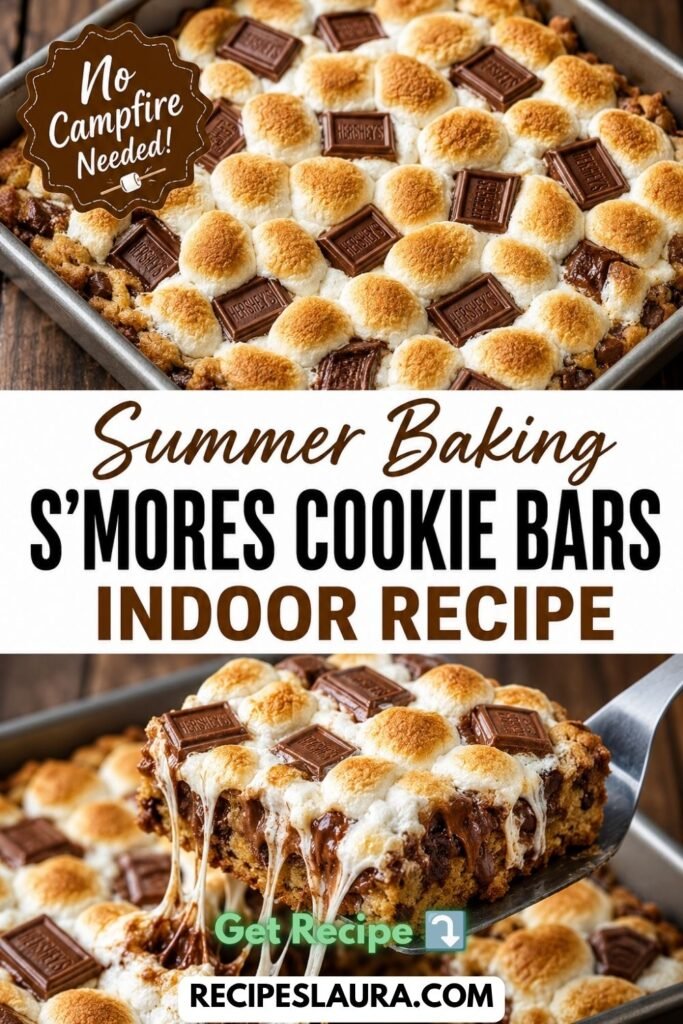
Enter your new favorite summer dessert: Indoor S’mores Cookie Bars.
Baked entirely in a 9×13 pan in your oven, these bars deliver all the sticky, chocolatey perfection of the campfire classic, but they feed a crowd with zero hassle. The marshmallows get perfectly golden and toasted right under your oven broiler!
🛒 The Ingredients (The Holy Trinity)
You only need a few pantry staples to make the ultimate graham cracker cookie crust, plus the two classic S’mores stars.
The Thick Graham Crust:
- 3 cups Graham Cracker Crumbs (About 2 full sleeves of crackers, crushed finely).
- 3/4 cup (1.5 sticks) Unsalted Butter, melted.
- 1/3 cup Granulated Sugar.
- Optional: A pinch of salt to balance the sweetness!
The Gooey Center & Top:
- 4 Full-Size Hershey’s Milk Chocolate Bars. (You can use chocolate chips, but laying flat Hershey bars gives you that authentic S’mores taste and texture!)
- 1 bag (10 oz) Large Marshmallows. (Do not use mini marshmallows, they will melt too fast and disappear into the chocolate!).
👩🍳 Step-by-Step Instructions (The “Oven Toast” Method)
Step 1: Prep the Pan (Crucial for stickiness!) 🛑
Preheat your oven to 350°F (175°C). Line a 9×13 inch baking dish with parchment paper, leaving an overhang on the sides. Spray the parchment paper lightly with non-stick spray! Melted marshmallows are basically glue; if you skip the spray, you will never get them out of the pan.
Step 2: The Graham Cookie Crust
In a medium bowl, mix the graham cracker crumbs, melted butter, and sugar until it resembles wet sand. Pour this mixture into your prepared pan and press it down firmly into an even, tight layer using the bottom of a measuring cup.
Step 3: Bake the Crust
Bake the crust by itself for 8-10 minutes. Why? Pre-baking sets the butter and prevents the crust from getting soggy when the chocolate melts over it!
Step 4: The Chocolate Layer
Remove the hot crust from the oven. Immediately unwrap your Hershey’s chocolate bars and break them into rectangles. Lay them flat, side-by-side, covering the entire hot crust. The residual heat will start melting them instantly.
Step 5: The Marshmallow Blanket
Arrange the large marshmallows in neat rows directly on top of the chocolate layer. Pack them tightly together!
Step 6: The “Campfire” Broil 🔥
Turn your oven setting from Bake to BROIL (High). Place the pan back in the oven.
WARNING: Do NOT walk away! Leave the oven door slightly cracked and watch them like a hawk. It takes exactly 1 to 2 minutes for the marshmallows to puff up and turn beautifully golden brown. They can go from golden to burnt charcoal in 10 seconds!
Step 7: The “Hot Knife” Hack (How to slice them)
Let the bars cool completely at room temperature for at least 1-2 hours so the chocolate sets.
To slice: Lift the bars out using the parchment overhang. Run a large, sharp chef’s knife under screaming hot water, wipe it dry, and make a cut. Clean the blade, run it under hot water again, wipe, and make the next cut. The hot blade slices cleanly through the sticky marshmallows without making a mess!